If you’ve ever struggled to trim your dog’s nails, you’re not alone. Many dogs find nail trimming uncomfortable or even scary, and many owners find it stressful, too. Fortunately, there’s a fun, low-stress alternative that puts your dog in control—teaching them to file their own nails using a scratch board.
A scratch board is simply a sturdy surface (like a piece of wood or sandpaper attached to a board) that your dog learns to paw at. As they scratch, their nails naturally wear down—just like ours would with an emery board. It’s a positive, hands-free way to maintain healthy nails without the battle of clippers or grinders.
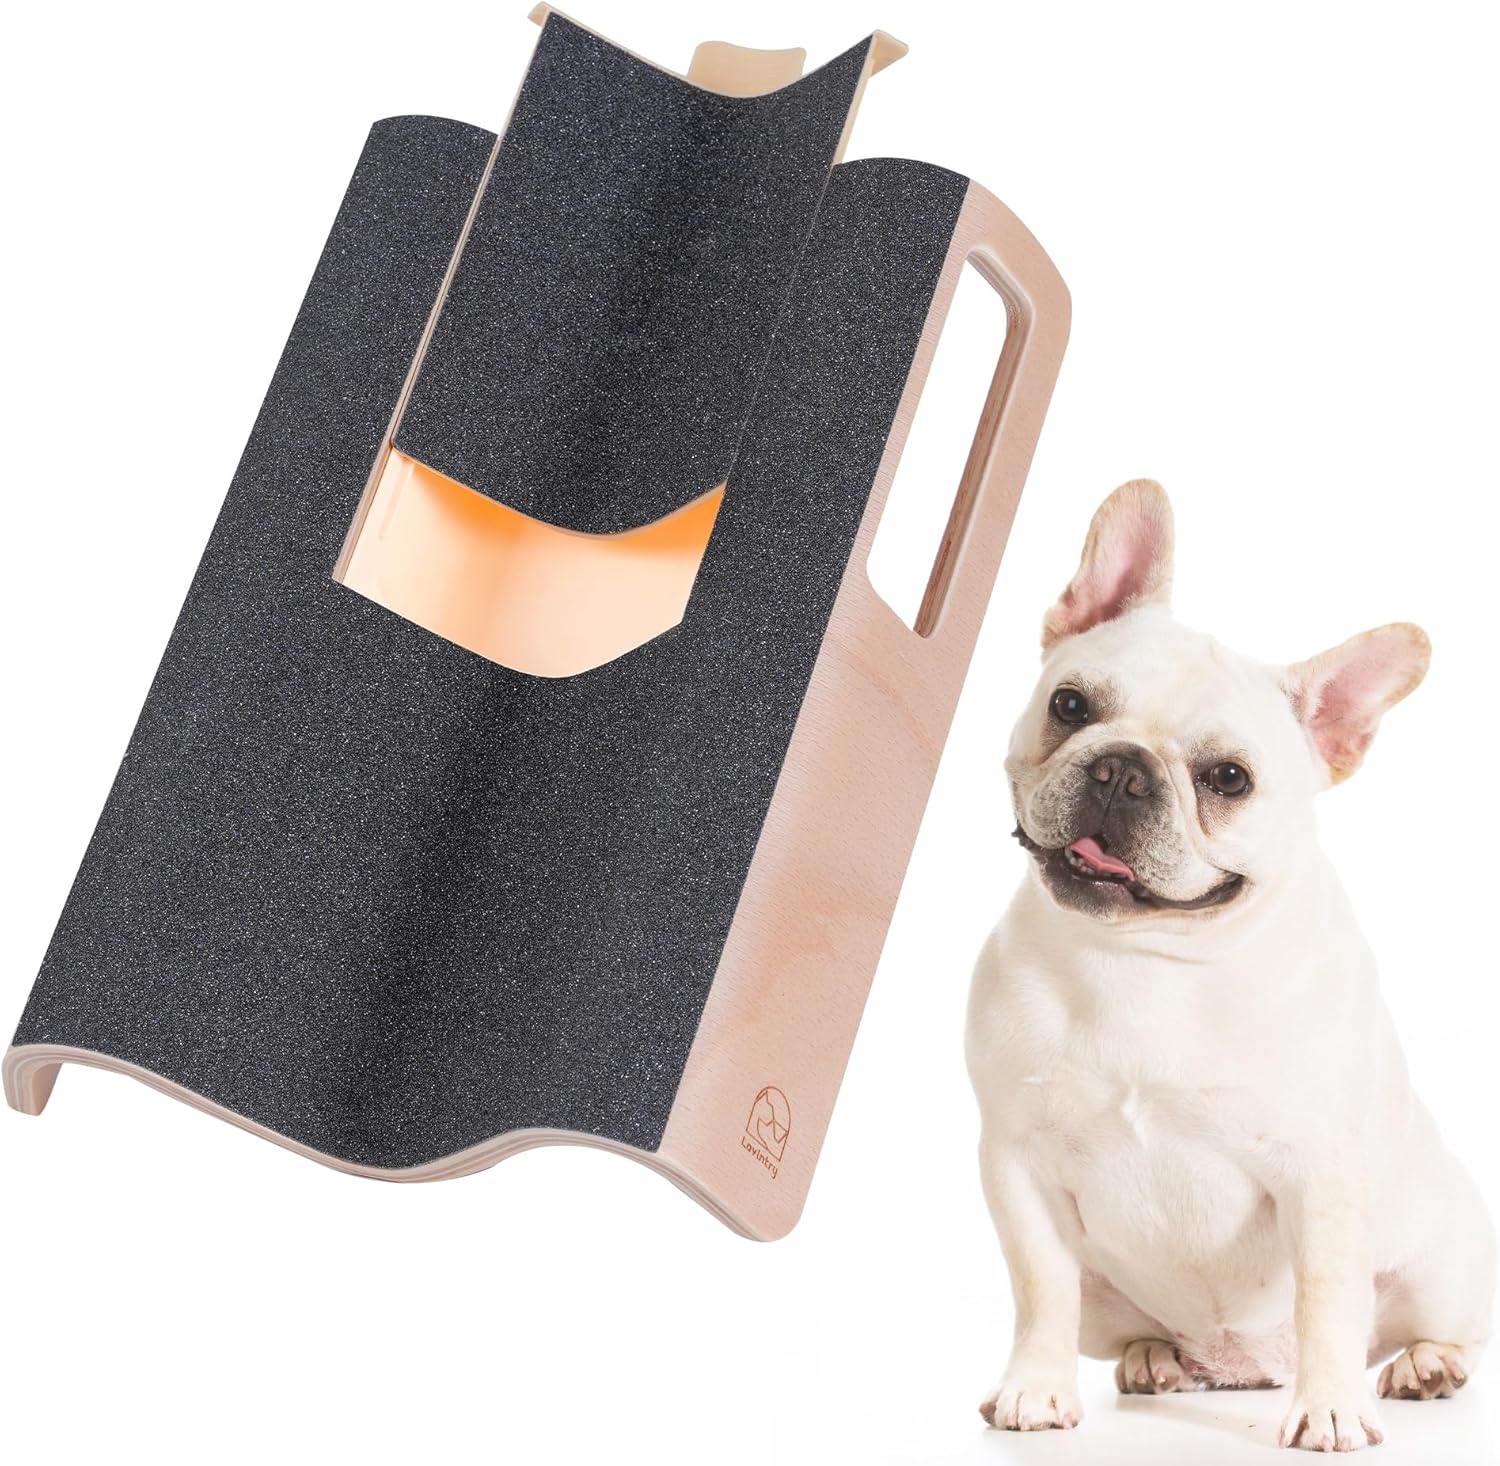
Step 1: Gather Your Supplies
You’ll need:
- A scratch board (you can buy one or make your own by gluing coarse sandpaper—around 60–80 grit—to a sturdy board).
- High-value treats or your dog’s favorite rewards.
- A clicker or marker word like “yes!” to mark correct behavior.
Step 2: Introduce the Scratch Board
Start by letting your dog explore the scratch board without pressure. Place it flat on the ground and reward any interest—sniffing, looking at it, or stepping near it. The goal is to build positive associations with the board before asking for specific behaviors.
If your dog is hesitant, try placing treats directly on the board so they learn it’s nothing to fear.
Step 3: Shape the Pawing Behavior
Once your dog is comfortable around the board:
- Hold the board at a slight angle against a wall or your leg.
- Encourage your dog to paw at it. You can do this by hiding a treat under your hand near the top of the board—most dogs will instinctively paw to get it.
- The moment your dog’s paw touches the board, mark and reward!
- Repeat, gradually rewarding only when your dog makes a clear scratching motion.
Take it slow—some dogs figure this out quickly, while others need several short sessions to connect the dots.
Step 4: Build Duration and Confidence
Once your dog understands that pawing the board earns a reward, encourage multiple scratches in a row before marking and treating. Keep sessions short and upbeat—no more than 3–5 minutes.
If your dog loses interest or starts avoiding the board, end the session on a positive note and try again later. The key is consistency, not speed.
Step 5: Maintain and Progress
When your dog confidently scratches the board, you can adjust the angle or grit as needed. A steeper angle helps wear nails more efficiently, while a slightly finer grit (like 100) smooths edges.
Remember to work both front paws evenly—some owners cue “left” and “right” to help balance things out.
Once your dog is comfortable with front nails, you can even introduce a second scratch board for the back feet, though this takes more time and patience.
Step 6: Keep It Fun!
The goal of scratch board training is not just nail care—it’s empowerment. Your dog learns to participate in their own grooming in a way that feels safe, predictable, and rewarding.
Celebrate small wins, and keep sessions positive. Over time, you’ll notice your dog approaching the board eagerly—proof that stress-free nail care is possible with the right approach.
Bonus Tip: Make It Part of Your Routine
Incorporate the scratch board into your daily routine—just a few minutes a day can keep your dog’s nails smooth and healthy. It’s a simple enrichment activity that supports body awareness, confidence, and relaxation.
In short: teaching your dog to use a scratch board transforms nail care from a dreaded task into a fun bonding experience. With patience and positive reinforcement, you can trade stress for success—one scratch at a time.